|
#include <stm32f10x.h> uint8_t seg8[] = {0xc0, 0xf9, 0xa4, 0xb0, 0x99, 0x92, 0x82, 0xf8, 0x... |
|
|
#include <stm32f10x.h> const uint8_t seg8[] = {0xc0, 0xf9, 0xa4, 0xb0, 0x99, 0x92, 0x82, 0x... |
|
|
【PLL到HSI】 // 假設HSI已經打開 RCC->CFGR &= ~RCC_CFGR_SW; // 系統時鐘切換到HSI RCC->CR &= ~(... |
|
|
#include <stm32f10x.h> uint8_t seg8[] = {0xc0, 0xf9, 0xa4, 0xb0, 0x99, 0x92, 0x82, 0xf8, 0x... |
|
|
將一個電阻和一個電容串聯起來接地。最左邊為電阻,電阻的最左端接單片機的PC1口,並設為輸出。電阻和電容中間引出一根線,接到PC0口,設為輸入。 最初PC1輸出低電平,電容上沒有電荷,PC0為低電... |
|
|
【實驗時用到的程序】 #include <stm32f10x.h> const uint8_t seg8[] = {0xc0, 0xf9, 0xa4, 0xb0, 0x99,... |
|
|
#include <stm32f10x.h> uint8_t seg8[] = {0xc0, 0xf9, 0xa4, 0xb0, 0x99, 0x92, 0x82, 0xf8, 0x... |
|
|
#include <stm32f10x.h> uint8_t seg8[] = {0xc0, 0xf9, 0xa4, 0xb0, 0x99, 0x92, 0x82, 0xf8, 0x... |
|
|
#include <stm32f10x.h> uint8_t seg8[] = {0xc0, 0xf9, 0xa4, 0xb0, 0x99, 0x92, 0x82, 0xf8, 0x... |
|
|
#include <stdio.h> #include <string.h> #include <stm32f10x.h> #define BIT... |
|
|
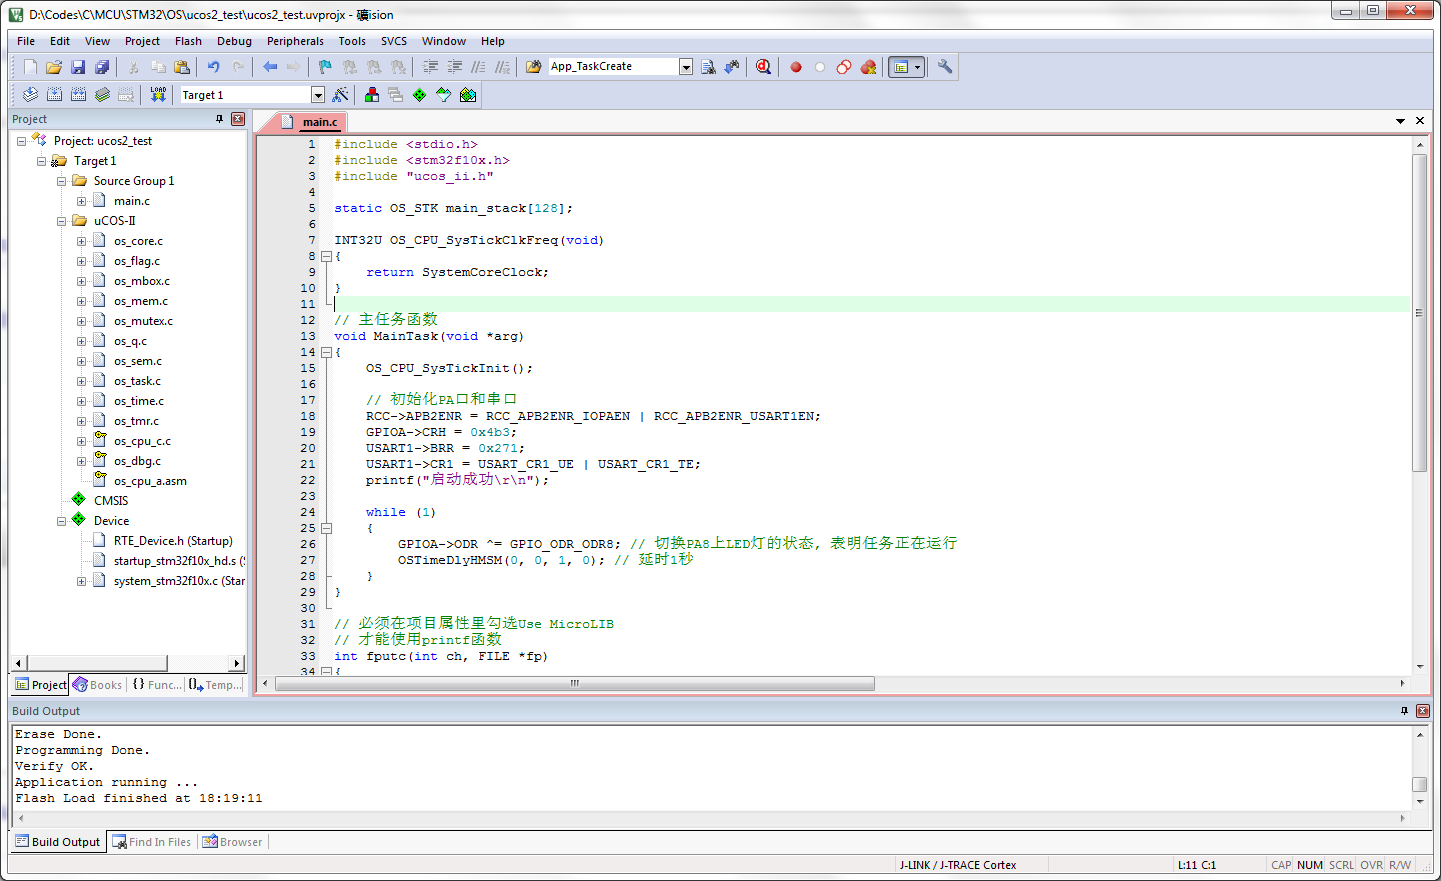
【截圖】成功的uCOS-II移植
[图片]
 |
|
|
不能單獨定義這兩個函數的跳轉,如 void SysTick_Handler(void) { OS_CPU_SysTickHandler();... |
|
|
/* 本程序使用的是銳志電子六合一擴展板上的數字旋轉編碼開關 */ /* 注意:一定要把板子下面的JPBMA和JPBMB跳線插上 */ #include <stm32f10x.h... |
|
|
#include <stdio.h> #include <stm32f10x.h> #define RS_0 (GPIOA->BRR = GPIO_BRR_B... |
|
|
#include <stdio.h> #include <stm32f10x.h> #define RS_0 (GPIOA->BRR = GPIO_BRR_B... |
|
| 本吧共有主题数91个,帖子数413篇,会员数0位。 | |
|
内容转换: |
|
