|
TinyOS点亮一个LED灯的程序 |
 一派护法 十九级 |
【MyC.nc】
module MyC
{
uses interface Leds;
uses interface Boot;
}
implementation
{
event void Boot.booted()
{
call Leds.led2Toggle();
}
}
【MyAppC.nc】
configuration MyAppC
{
}
implementation
{
components MyC, MainC, LedsC;
MyC -> MainC.Boot;
MyC.Leds -> LedsC;
}
【Makefile】
COMPONENT = MyAppC
include $(MAKERULES)
命令行执行:make telosb install bsl,/dev/ttyUSB0
即可编译和烧写
注意逗号左右没有空格,加了空格烧写会失败!
注意用chown命令保证ttyUSB0的权限
|
 一派护法 十九级 |
【代码解释】
module MyC
{
uses interface Boot; // 使用Boot接口
uses interface Leds; // 使用Leds接口
// 至于接口是哪个组件提供的, 只能在configuration中指明
}
implementation
{
event void Boot.booted()
{
call Leds.led2Toggle();
}
}
configuration MyAppC
{
}
implementation
{
components MyC, MainC, LedsC; // 该模块使用的组件。注意配置MyAppC不是组件,所以要引用对应的MyC组件
MyC.Boot -> MainC.Boot; // Boot接口是MainC组件提供的
MyC.Leds -> LedsC.Leds; // Leds接口是LedsC组件提供的
}
|
 一派护法 十九级 |
无论接口是哪个组件提供的,uses interface后面都只能跟上组件的名字,并且不能随便乱改名称,例如uses interface A就是错误的,因为A接口根本不存在。即使写上MyC.A-> MainC.Boot也是错误的。也就是说,MyC.Boot -> MainC.Boot这两边的Boot必须相同。
|
 一派护法 十九级 |
在nesC中,不允许有“MyC组件的A接口使用的是MainC组件提供的Boot接口”这样的说法出现,只能说“MyC组件使用的Boot接口是MainC组件提供的”。
另外,MyAppC是一个configuration,不是组件(component),所以在components关键字中要写上MyC,因为MyC才是组件。
|
 一派护法 十九级 |
event是接口使用者必须实现的函数。例如MyC组件(接口使用者)使用了MainC组件提供的Boot接口,因此MyC组件就必须自己实现Boot接口的booted函数。
Boot.booted函数是程序的入口点,相当于C语言的main函数。
|
 一派护法 十九级 |
|
 一派护法 十九级 |
【延时函数】
module MyC
{
uses interface Boot; // 使用Boot接口
uses interface Leds; // 使用Leds接口
// 至于接口是哪个组件提供的, 只能在configuration中指明
}
implementation
{
// 延时约0.5秒
void delay(void)
{
unsigned char i;
unsigned int j;
for (i = 0; i < 16; i++)
for (j = 0; j < 30000; j++);
}
event void Boot.booted()
{
while (1)
{
call Leds.led2Toggle();
delay();
call Leds.led2Toggle();
delay();
}
}
}
|
 一派护法 十九级 |
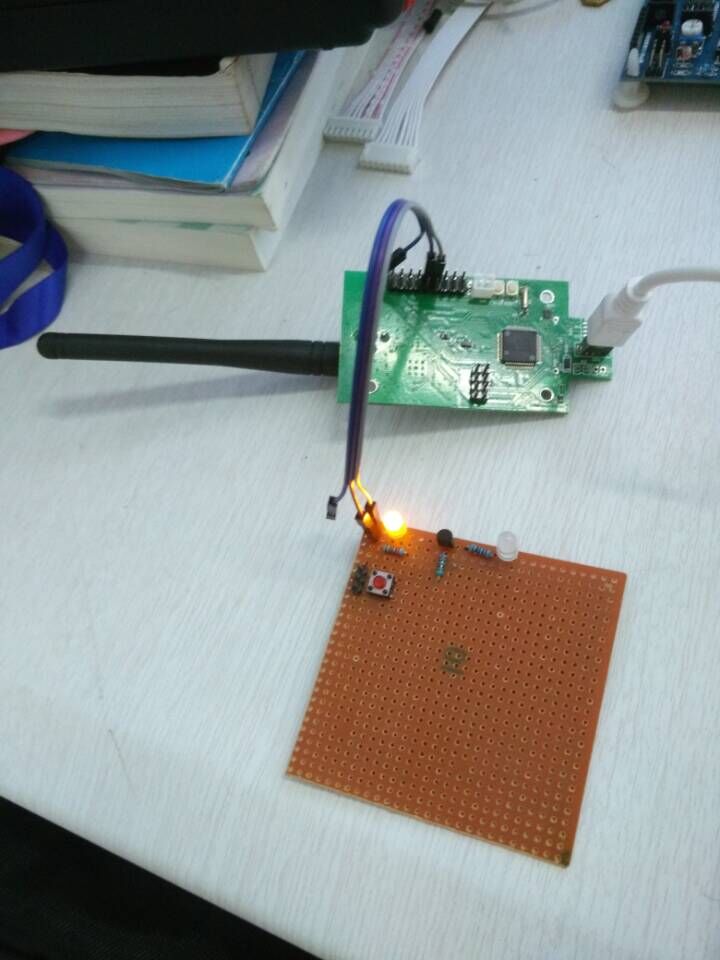
【点亮自己焊的LED灯(P2.1)的程序】 #include <io.h> void wait(void) { volatile unsigned int i; for (i = 0; i < 32000; i++); } int main(void) { P2DIR = 0xff; P2OUT = 0x00; while (1) { P2OUT ^= 0x02; wait(); } } 【运行结果】  |
 一派护法 十九级 |
【上述程序的TinyOS版本】
configuration MyAppC
{
}
implementation
{
components MyC, MainC;
MyC.Boot -> MainC.Boot;
}
module MyC
{
uses interface Boot;
}
implementation
{
// 延时约0.5秒
// tinyos中delay函数运行地更快
void delay(void)
{
unsigned char i;
unsigned int j;
for (i = 0; i < 16; i++)
for (j = 0; j < 32000; j++);
}
// 主函数
event void Boot.booted()
{
// 在tinyos程序中不需要<io.h>
P2DIR = 0xff;
P2OUT = 0xff;
while (1)
{
P2OUT ^= 0x02;
delay();
}
}
}
|